THE ESSENTIALS
Calibrating your cooking tools ensures your meals are safe and cooked to perfection, and learning how to calibrate a food thermometer is the easiest way to prevent foodborne illness at home.
- The USDA (United States Department of Agriculture) Food Safety Inspection Service confirms that a calibrated thermometer is the only reliable way to verify meat is cooked to a safe temperature.
- A properly calibrated thermometer must read exactly 32 degrees Fahrenheit (0 degrees Celsius) when tested in ice water.
- You should test your kitchen gauges at least once a month, or immediately after dropping a probe.
While dial thermometers can be adjusted manually with a wrench, digital models usually require you to calculate a temperature offset or use a built-in reset button.
How to Test Your Thermometer’s Accuracy
Using an inaccurate thermometer can lead to food poisoning or dry, overcooked meals. The USDA notes that pathogens like Salmonella and E. coli are only destroyed when food reaches specific internal temperatures. Checking your thermometer’s precision takes less than five minutes but protects your household from harmful bacteria.
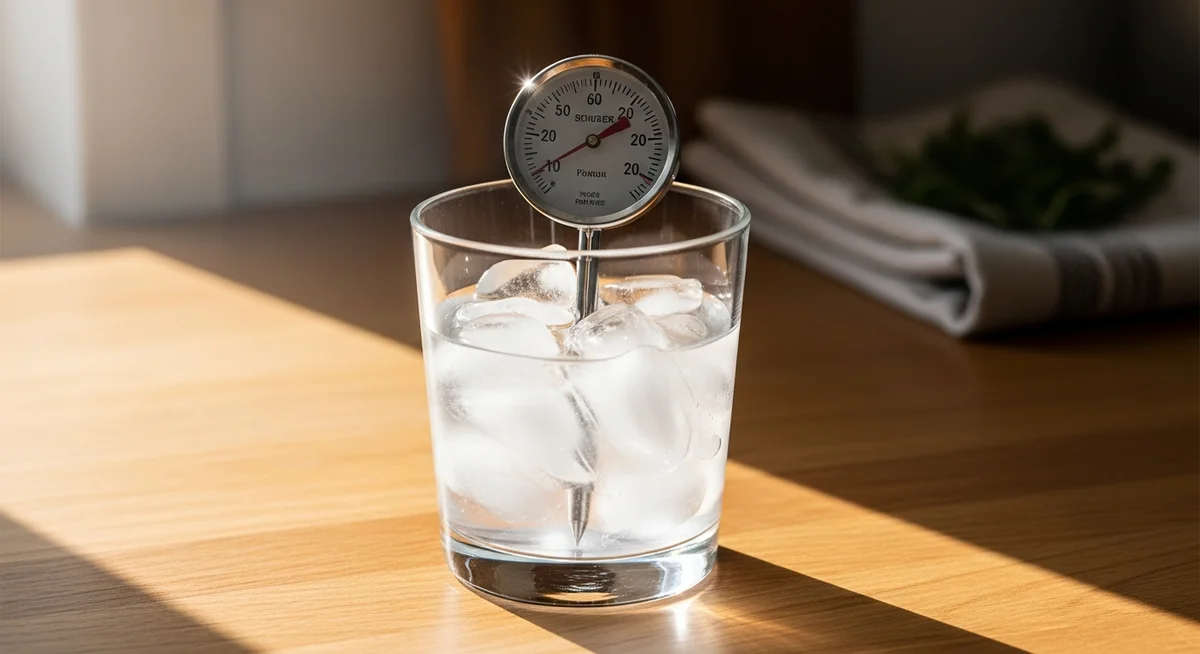
The calibrating food thermometer ice water method is the most reliable way to test accuracy at home. Water freezes at an exact temperature, providing a perfect baseline regardless of your altitude or room temperature. Follow these simple steps to perform the ice bath check and determine if you need to adjust your tool:
- Fill a tall glass to the top with crushed ice, then add cold tap water until the glass is full.
- Stir the mixture thoroughly and let it sit for two minutes to allow the temperature to stabilize.
- Insert the thermometer stem at least two inches into the ice slurry, ensuring the sensor does not touch the bottom or sides of the glass.
- Hold the stem still for 30 seconds for digital models, or two minutes for dial models, then record the reading.
While you can also test accuracy using boiling water, this method carries a risk of burns and is affected by altitude. For every 1,000 feet of elevation above sea level, the boiling point of water drops by roughly two degrees Fahrenheit. Using the freezing method eliminates altitude variables and provides a safer, more consistent benchmark.
How to Calibrate a Food Thermometer: Manual and Digital Adjustments
Thermometers can easily drift out of alignment during shipping, storage, or after accidental drops. Adjusting your device ensures that your next cook is safe and delicious. Depending on your tool’s design, you will use a physical wrench or electronic settings to correct the sensor.
This food safety thermometer calibration guide details how to correct both older manual tools and newer electronic devices. Regular maintenance prevents undercooking poultry and overcooking expensive cuts of meat. Keep your tools in top shape by following the correct adjustment procedure for your specific model.
Dial Thermometers
Dial thermometers use a bimetallic coil inside the metal stem that expands or contracts as temperature shifts. This mechanical action rotates the physical needle across the dial face. Over time, the internal spring can lose tension, requiring manual calibration. Use these steps to restore accuracy to your dial gauge:
- Keep the thermometer probe submerged in the ice water slurry during the entire adjustment process.
- Locate the hex adjusting nut situated directly beneath the dial face on the stem of the thermometer.
- Hold the dial firmly and use a small wrench or pliers to turn the nut until the needle points exactly to 32 degrees Fahrenheit.
- Remove your tool, stir the ice bath, and insert the probe again to ensure the needle remains stable at the correct mark.
Digital Thermometers
Digital models rely on electronic sensors that can drift over time. South Dakota State University Extension points out that while some digital thermometers cannot be physically adjusted, you can easily calculate their offset. Follow these steps to manage digital calibration:
- Locate the calibration button, often labeled ‘CAL’ on your digital thermometer housing if your model includes this feature.
- Press and hold the calibration button while the probe is submerged in the ice water until the screen automatically resets to 32 degrees Fahrenheit.
- Calculate the offset if your device lacks a calibration button, meaning if it reads 34 degrees Fahrenheit, you must subtract two degrees from every reading you take.
- Change the batteries immediately if the display flickers or fails to provide a stable, consistent reading during your ice test.