THE ESSENTIALS
To fix alligatoring paint permanently, you must completely remove the cracked, rigid layers down to a stable substrate before priming and repainting the surface.
- Complete removal of the failed paint film is the only way to prevent the cracked texture from showing through your new topcoat.
- Lead paint risks are incredibly high in homes built before 1978, requiring a lead test before you begin any sanding or scraping.
- Applying hard oil-based coatings over flexible latex formulas is the primary chemical cause of this specific type of paint failure.
- Cure times of at least 24 hours must be respected between coats to ensure the base layers are completely dry.
The best method for removing the damaged paint depends on your surface type, with heat guns working best for wood and chemical strippers or scraping suited for plaster and masonry.
What Causes Alligatoring Paint?
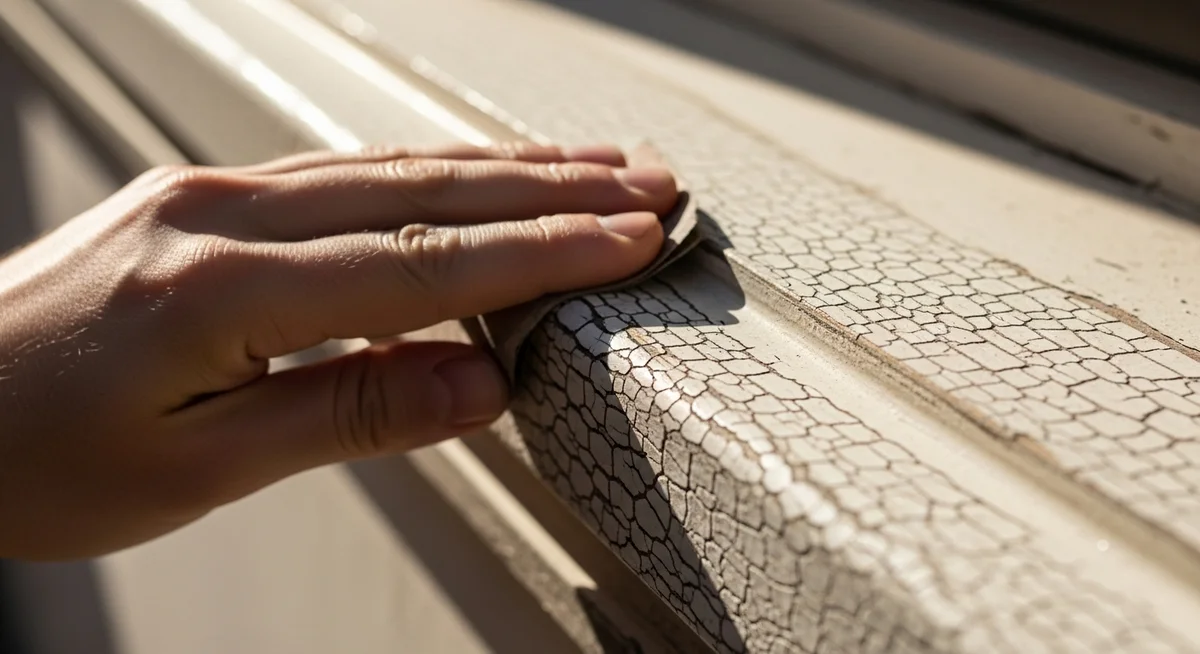
Paint alligators when the top layer of paint shrinks and cracks, revealing a patterned design that looks like alligator scales. This happens because the upper layer dries to a hard, inelastic finish while the layer directly beneath it remains soft, flexible, or wet. The rigid top layer cannot handle the normal movement of the lower layers, causing it to break apart under tension.
Understanding why is my paint alligatoring helps you avoid making the same mistakes on your next home improvement project. Several common application errors and environmental factors lead to this specific type of paint failure:
- Applying hard paint over soft paint: Painting a rigid coating, like an oil enamel, over a highly flexible latex primer or paint coat will cause cracking.
- Incomplete drying times: Applying a second coat of paint before the first coat has fully dried traps uncured solvents or moisture underneath, compromising the topcoat.
- Natural aging of oil-based paint: Oil-based paints naturally lose their flexibility over time as they are exposed to temperature fluctuations, eventually cracking after 10 or more years of service.
- Painting over glossy surfaces: Failing to sand or prime a glossy base prevents the new paint from bonding, leading to sliding, cracking, and eventual failure.
How to Fix Alligatoring Paint
Fixing alligatoring paint requires a hands-on approach to strip the damaged layers down to the bare wood or plaster substrate. Simply painting over the cracks will not work, as the new paint will mimic the underlying cracked pattern almost immediately. Follow these three steps to repair your damaged surfaces properly and achieve a smooth finish.
Step 1: Remove the Damaged Paint
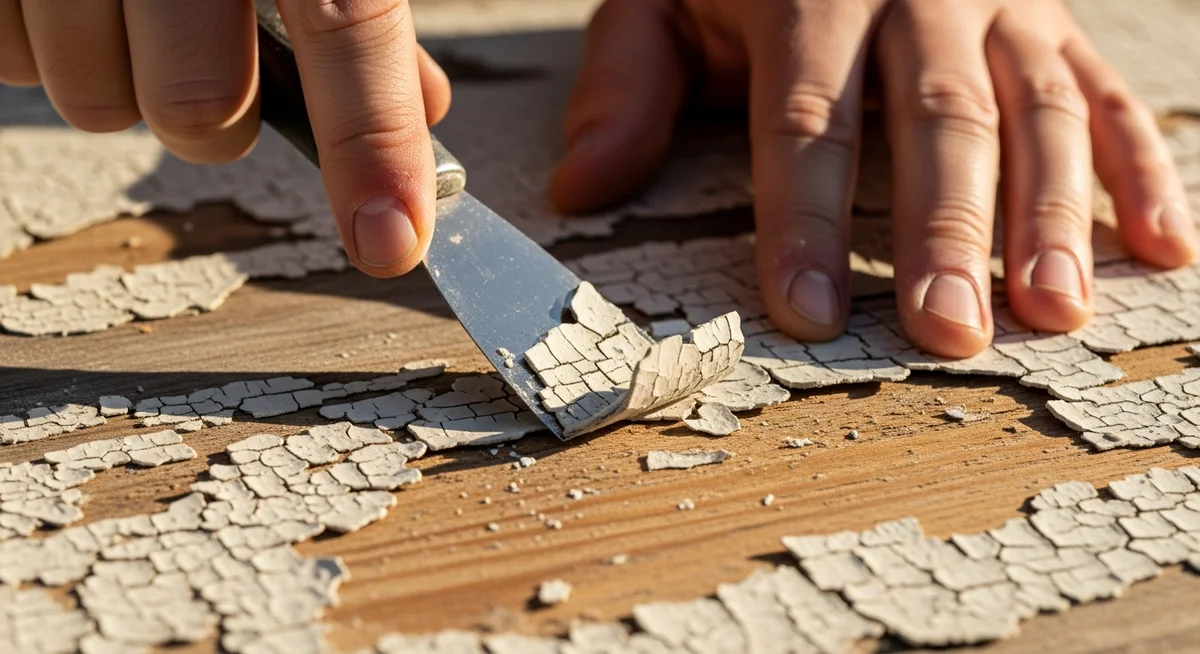
The first step in restoring your surface is to physically remove every trace of the cracked paint. You can accomplish this by using a heavy-duty hand scraper, a heat gun, or a chemical paint remover. If your home was built before 1978, the US Environmental Protection Agency (EPA) guidelines require you to test for lead paint before disturbing the surface.
When using a heat gun, hold the tool about six inches from the surface until the paint bubbles, then scrape it off gently with a putty knife. If you prefer chemical strippers, apply a thick layer of a soy-based or citrus-based stripper, let it sit according to the manufacturer instructions, and scrape the softened residue into a disposable container. Always wear a safety mask, heavy gloves, and protective eyewear to safeguard yourself from dust and chemical fumes.
Step 2: Sand and Clean the Surface
Once you remove the bulk of the failed paint, you must address the remaining residue and smooth out the transition lines. Use a medium 120-grit sandpaper to sand the entire area, paying extra attention to the spots where paint met bare wood or plaster. Sanding ensures that the edges are completely flat, a process known as feathering, which prevents visible ridges after painting.
After sanding, wipe down the surface with a vacuum followed by a damp cloth to remove all dust, dirt, and loose particles. For stubborn exterior dirt or mildew, wash the surface with a dedicated prep cleaner or a mixture of water and mild detergent. Allow the surface to dry completely for at least 24 hours, as painting over damp wood or masonry will trigger future peeling.
Step 3: Prime and Repaint
Applying a high-quality primer is essential because it seals the raw substrate and creates a uniform bond for your new paint. Choose a primer that matches your topcoat, such as an exterior latex primer for latex paints, or an oil-based primer for traditional wood applications. According to guidelines from the University of Minnesota Extension, wood moisture content must be below 15 percent before you apply any primer to ensure proper adhesion.
Apply one even coat of primer and let it dry completely, which usually takes between four and 24 hours depending on humidity levels. Once dry, apply two coats of premium acrylic latex paint, which offers superior flexibility and resistance to temperature changes compared to older oil-based formulas. Allow the first topcoat to dry fully for the manufacturer’s recommended time before starting the second coat.
Can You Fix Alligatoring Paint Without Stripping It Completely?
Many homeowners look for shortcuts to avoid the laborious process of stripping paint, but trying to bypass this step is rarely successful. If the underlying paint layer has lost its elasticity, any new coat you put on top will eventually crack and peel as the temperature changes. The stress of the new, shrinking paint film will actually pull the old, weak paint right off the wall or wood trim.
If you are dealing with minor cracking on interior drywall, you might wonder how to repair cracked wall paint without a full strip. While you cannot paint directly over it, minor damage on plaster or drywall can sometimes be managed through localized repairs:
- Scraping loose edges: Use a putty knife to scrape away only the loose, peeling paint rather than stripping the entire wall.
- Applying joint compound: Skim coat the damaged area with a thin layer of joint compound to fill in the low spots and cracks.
- Sanding flush: Sand the dried joint compound with a fine 220-grit sanding sponge until it is perfectly flush with the surrounding wall.
- Sealing with primer: Coat the patched area with a high-quality sealing primer to prevent the compound from absorbing moisture from your new paint.
For outdoor trim, fixing cracked dried paint on wood always requires complete removal because wood constantly expands and contracts with shifting outdoor humidity levels.
How to Prevent Paint Alligatoring on Future Projects
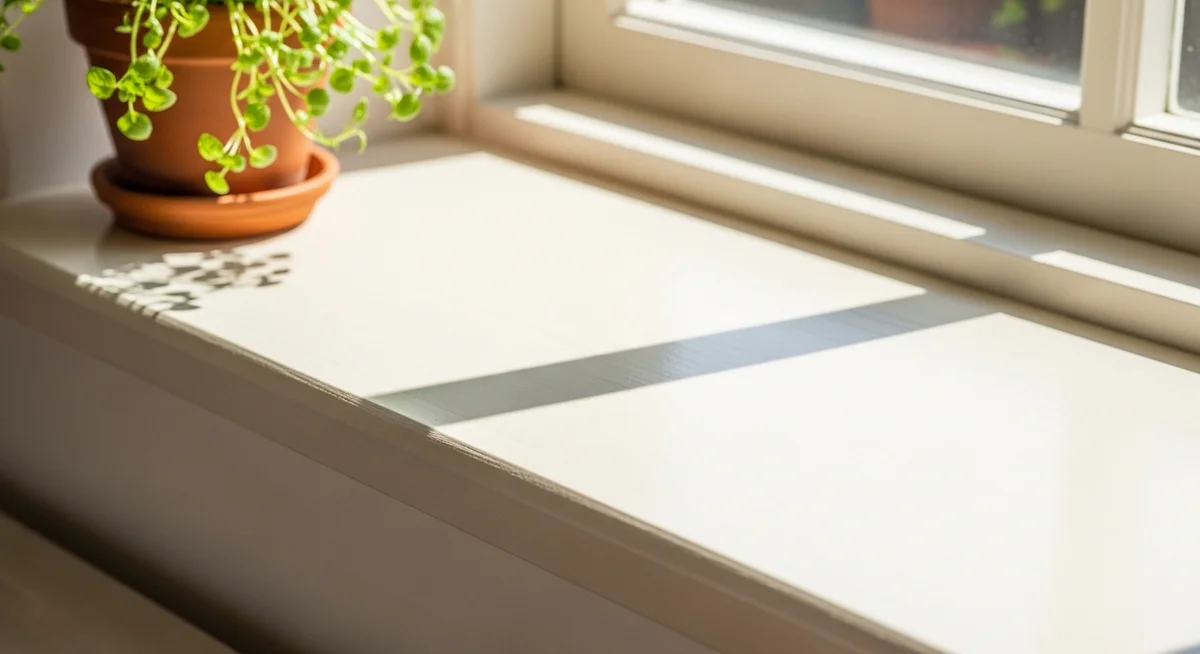
Preventing paint failure is much easier and less expensive than spending hours stripping old, cracked layers from your home. By following correct application techniques and respecting product drying times, you can ensure your paint job remains smooth for decades. Proper surface preparation and chemical compatibility are your best defenses against this frustrating problem.
Keep these critical best practices in mind before you start your next painting project to keep your surfaces looking fresh and pristine:
- Always test paint compatibility: Avoid applying hard oil-based or alkyd paints directly over soft, flexible latex primers or latex basecoats.
- Respect dry times: Never rush your project by applying a topcoat before the primer or basecoat is thoroughly dry, giving it at least 24 hours in cool or humid conditions.
- De-gloss shiny surfaces: Scuff-sand glossy finishes with medium sandpaper or use a liquid de-glosser before painting to give the new coat a textured surface to grip.
- Control environmental conditions: Only paint when the air and surface temperatures are between 50 and 90 degrees Fahrenheit, as extreme cold or heat ruins paint curing.
Using high-quality 100 percent acrylic latex paints on exterior surfaces provides the elasticity needed to survive changing weather without cracking.