WHAT YOU NEED TO KNOW
Knowing how to prep walls is the secret to getting a smooth, professional paint finish that lasts for years.
- Cleaning walls with mild soap and water removes grease and dust that prevent paint from adhering.
- Patching holes with spackling compound and sealing gaps with acrylic latex caulk ensures a smooth, seamless surface.
- Sanding with 120-grit to 220-grit sandpaper creates a textured profile that helps the primer and paint bond securely.
- Priming is essential for bare drywall, patched areas, or when transitioning between high-contrast paint colors.
While skipping prep work saves time upfront, it almost always leads to peeling paint, visible patches, and uneven colors later.
What Are the Essential Supplies for Preparing Walls for Paint?
To get professional results when preparing walls for paint, you need the right tools on hand. Having these items ready prevents unnecessary trips to the hardware store mid-project.
Use this list of standard supplies to gather everything before you begin:
- Scotch-Blue or similar painter’s tape
- Flexible scraper or putty knife
- Multi-purpose interior latex primer
- Sanding block or 120-grit to 220-grit sandpaper
- Acrylic latex caulk and a caulk gun
- Mild dish soap, warm water, and a cellulose sponge
- Durable canvas drop cloths
Step 1: How to Do Your Wall Prep Before Painting
You can protect your home from paint splatters and fine dust by properly preparing the work area. Taking these protective measures prevents accidental damage to your furnishings and floors.
Follow these steps to clear and secure your workspaces:
- Remove all artwork, nails, hooks, and outlet covers from the walls.
- Move furniture to the center of the room or into another room entirely.
- Cover remaining furniture with plastic sheeting to block fine sanding dust.
- Lay down heavy-duty protective covers over your flooring.
How Do You Clear the Space and Lay Drop Cloths?
Clearing the room completely is always the ideal approach, but when that is not possible, grouping furniture in the center works well. Once your items are clustered, cover them with plastic drop cloths and tape them secure.
For flooring, canvas drop cloths are the superior option because they absorb spills and do not slide underfoot. Plastic and paper drop cloths cost less, but they require you to tape down every edge to prevent slipping hazards.
What Is the Right Way to Tape Trim and Edges?
Properly applied painter’s tape ensures clean lines and protects your woodwork from stray brush strokes. Taking your time during application prevents paint from bleeding underneath.
Use these tips to apply your tape like a professional:
- Clean and dry the trim thoroughly before applying any tape.
- Use long pieces of tape instead of multiple short strips to eliminate gaps.
- Press the tape down firmly along the edge using a clean putty knife to seal it.
- Remove the tape at a 45-degree angle while the paint is still slightly tacky to prevent peeling.
Step 2: How Do You Repair Holes and Cracks?
You can fix wall damage by scraping away loose paint and applying high-quality patching compound. Filling these imperfections creates a uniform surface that absorbs paint evenly.
What Are the Steps for Patching and Caulking?
Addressing small damages and gaps between the trim and walls makes a massive visual difference. When done correctly, these repairs disappear under your new paint coat.
Follow this sequence to repair your walls:
- Use a putty knife to scrape away any loose paint or drywall debris around the hole.
- Fill small nail holes and dents with a high-quality spackling compound, smoothing it flat.
- Let the spackle dry according to the manufacturer’s instructions before sanding it smooth.
- Apply a paintable acrylic latex caulk to fill gaps between the wall and the wood trim.
Step 3: How to Clean Walls Before Painting
You must clean walls before painting to remove dust, kitchen grease, and oils that block paint adhesion. Painting over dirty walls causes the new layer to bubble and peel away over time.
Follow these guidelines to clean your walls thoroughly:
- Dust the walls from top to bottom using a microfiber cloth or a vacuum attachment.
- Mix lukewarm water with a few drops of mild dish soap in a plastic bucket.
- Wash the walls gently in a circular motion using a damp cellulose sponge.
- Rinse the surface with a separate sponge dipped in clean, clear water and let it dry.
What Is the Best Method for Removing Dirt, Grease, and Mildew?
In high-traffic areas like kitchens and bathrooms, walls collect stubborn grease and moisture. The U.S. Environmental Protection Agency (EPA) guidelines, updated for 2026, suggest addressing any mold or mildew growth before painting to prevent spores from spreading under the new paint layer.
For tough kitchen grease, use a mild commercial degreaser or a stronger mixture of soap and water. Always let the walls dry completely for at least 24 hours before you attempt to apply tape, primer, or paint.
Step 4: How to Prep Walls with Proper Sanding
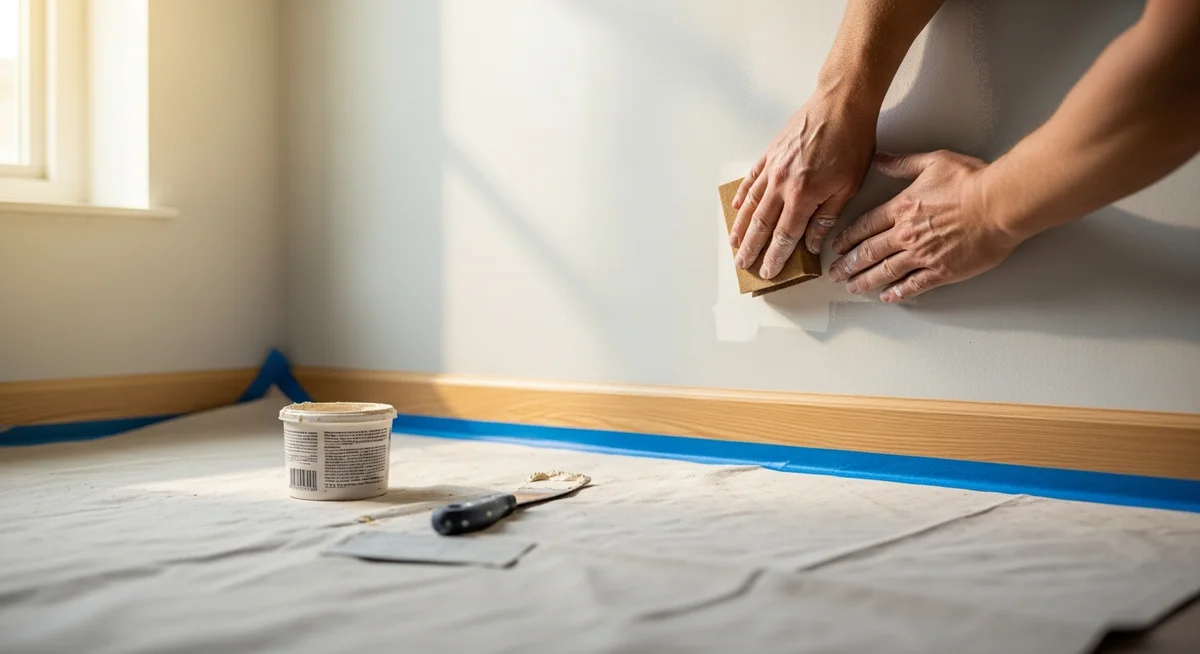
Sanding is a crucial part of how to prep walls because it scuffs up old glossy paint and flattens out rough patches. This process creates a mechanical bond, allowing the new paint to adhere securely to the surface.
Use a fine 120-grit or 150-grit sandpaper on a sanding block to lightly scuff the entire wall surface. For patched areas, switch to a finer 220-grit paper to blend the dried spackle seamlessly into the surrounding drywall. According to safety guides from the University of Minnesota Extension, always wear a dust mask and protective eyewear while sanding to safeguard your lungs and eyes.
After you finish sanding, wipe away all the fine white dust with a damp cloth or microfiber towel to ensure a clean surface. Let the wall dry completely before moving on to the next step.
Step 5: When and How Should You Apply Primer?
You should apply primer whenever you are painting bare drywall, patching holes, or making a major color change. Primer seals porous surfaces and creates a uniform base coat so your topcoat color looks true and vibrant.
Use these rules to determine how to apply your primer:
- Apply a latex primer to all bare drywall and freshly patched areas to seal them.
- Use a primer when transitioning from a dark wall color to a much lighter shade.
- Choose a tinted primer if your final paint color is very dark or rich.
- Paint a two-inch to three-inch strip of primer along the trim and corners first, then roll the rest of the wall.
Wall Prep FAQs
Is it really necessary to wash walls before painting?
Yes, washing your walls is highly necessary to ensure proper adhesion. Dust, oil from fingers, and spiderwebs accumulate on walls over time. If you paint directly over this grime, the paint will eventually bubble, crack, or peel off.
What grit sandpaper should I use for walls?
You should generally use 120-grit to 150-grit sandpaper to scuff up existing paint and create a bondable surface. For smoothing out dried spackle or joint compound patches, a finer 220-grit sandpaper is ideal because it prevents gouging. Always use light pressure to avoid damaging the underlying paper face of the drywall.
Should I prep and paint over wallpaper?
Generally, home improvement experts recommend removing wallpaper entirely before painting for the most durable results. However, if the wallpaper is firmly bonded and removing it would ruin the plaster, you can prep and paint over it.
If you must paint over wallpaper, follow these steps:
- Cut away any loose or peeling pieces of wallpaper with a utility knife.
- Apply a thin layer of spackle to smooth out the seams and any damaged areas.
- Sand the dry spackle and the seams flat using fine-grit sandpaper.
- Seal the entire wallpaper surface with an oil-based primer to block moisture before painting.