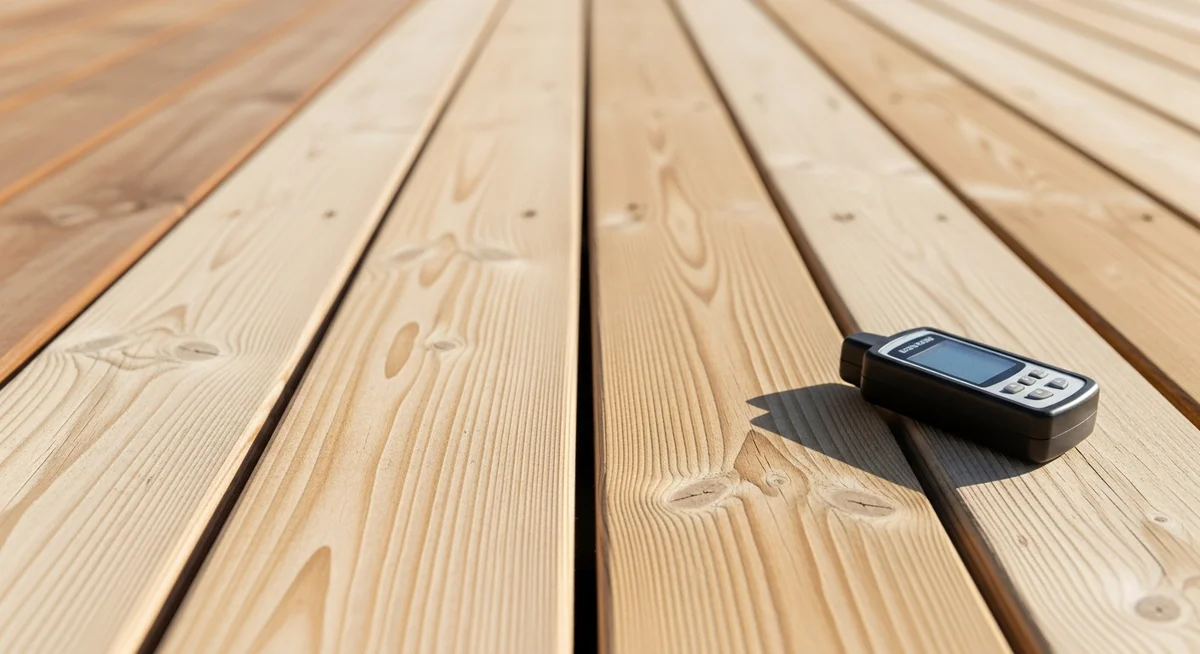
WHAT YOU NEED TO KNOW
Learning how to prep stain deck surfaces determines 90 percent of your final staining success, meaning a rushed prep job will cause your new finish to peel within a single season.
- Wood must be completely dry, showing less than 19 percent moisture content before applying any coating.
- Wood cleaners require a 15 minute dwell time to lift deep-seated mold, dirt, and mildew from the grain.
- A thorough prep and dry process takes at least 24 to 48 hours of dry weather to allow the timber to dry completely.
The age and current state of your timber dictate whether you need a simple wood cleaner or a heavy chemical stripper to prepare the surface.
What Tools and Materials Do You Need for Deck Prepping and Staining?
Selecting the correct tools saves time and prevents premature product failure. Utilizing the wrong brush or sprayer can lead to uneven application, blotchy patches, or poor adhesion. According to testing by Consumer Reports, using high-quality applicator tools directly correlates with how evenly a finish wears over time.
- Wood cleaner or stripper: An all-in-one wood cleaner removes mold, mildew, and dirt, while a chemical stripper is necessary to lift old, peeling oil or latex coatings.
- Stiff-bristle scrubbing brush: Synthetic utility brushes with long handles allow you to scrub the wood fibers without gouging the soft timber. Do not use wire brushes, as they can leave behind metal fragments that rust and ruin the wood.
- Pump-up garden sprayer: A standard 1 gallon or 2 gallon plastic sprayer distributes cleaners and prep solutions evenly across large areas.
- High-quality deck stain: Choose between solid, semi-transparent, or transparent options based on how much wood grain you want to show.
- Synthetic stain brush: A wide 4 inch flat brush designed for masonry or exterior wood holds plenty of product and forces the stain deep into the timber grain.
- Safety gear: Chemical-resistant gloves, safety goggles, and closed-toe shoes protect you from caustic cleaning agents.
Step 1: How to Prep Stain Deck Surfaces for Success?
The key to learning how to prep stain deck boards is understanding that stain must penetrate the wood cells to bind properly. If the wood pores are clogged with old finish, mill glaze, or dirt, the new coating will simply sit on top and flake off. Following a cleaning and staining deck step by step routine ensures the wood pores are wide open and ready to receive the product.
- Clear and inspect the surface: Remove all patio furniture, grills, and plants from the work area. Inspect the deck boards for popped screws or loose nails, driving them flush or replacing them with exterior-grade fasteners before cleaning.
- Apply the wood cleaner: Mist the deck with water first so the cleaner does not dry out too quickly. Fill your pump sprayer with the wood cleaner, apply it generously to the boards, and let it sit for exactly 15 minutes to break down organic buildup.
- Scrub the wood fibers: Working in the direction of the wood grain, scrub the damp boards with your stiff-bristle brush to dislodge gray wood cells and dirt. You will notice the wood cleaner foaming as it lifts debris out of the grain.
- Rinse thoroughly: Wash away the residue using a garden hose with a high-pressure nozzle or a pressure washer set to a low pressure of around 800 PSI to 1200 PSI. Keep the wand moving constantly to avoid leaving permanent gouge marks in the wood.
- Allow complete drying: Wait at least 24 to 48 hours before proceeding to the next step. The wood must feel completely dry to the touch, as trapped moisture will block stain absorption and cause bubbling.
Step 2: How to Apply the Deck Stain Correctly?
Once the timber is clean and fully dry, you are ready to learn how to apply deck stain. If you are working with brand-new wood, you must understand how to stain new deck surfaces specifically. New wood often possesses mill glaze, a shiny sheen created during the lumber milling process, which must be sanded or chemically removed before application.
| Stain Type | Average Lifespan | Key Benefit | Best Use Case |
|---|---|---|---|
| Solid Stain | 3 to 5 years | Maximum UV protection | Old, weathered, or mismatched wood |
| Semi-Transparent | 2 to 3 years | Highlights natural grain | Mid-aged cedar or pressure-treated pine |
| Transparent/Clear | 1 to 2 years | Shows natural timber beauty | Premium hardwoods like Ipe or Redwood |
To start application, stir the stain thoroughly with a flat paint stick to distribute the pigments evenly; never shake wood stain, as this introduces air bubbles that ruin the finish. Work on 2 to 3 boards at a time, applying the stain along the entire length of the board to avoid overlap marks. Use a technique called backbrushing, where you run a dry brush over the wet stain, to push the product deep into the joints and gaps.
Keep a wet edge by moving continuously from one end of the deck to the other without stopping mid-board. If the manufacturer recommends a second coat, apply it within the specified window, usually within 2 to 24 hours of the first coat. Walking on the surface too early will ruin the wet coat, so keep all foot traffic off the deck for at least 24 to 48 hours.
What Are the Best Conditions and Weather for Deck Staining?
Applying stain under the wrong weather conditions is a primary cause of immediate coating failure. The Oregon State University Extension Service recommends applying wood coatings when the ambient temperature remains consistently between 50 degrees Fahrenheit and 90 degrees Fahrenheit for both the application and curing periods. Avoid working in direct sunlight, which dries the stain too rapidly and prevents it from soaking into the wood pores.
Check the local forecast to ensure there is no rain predicted for at least 24 hours before you begin and 24 to 48 hours after you finish. High humidity levels can also retard the curing process, keeping the stain tacky for days. Morning is usually the ideal time to apply stain, after the morning dew has completely evaporated but before the sun hits its midday peak.